For many years, Adobe Contribute has been able to connect to commercially available popular blogging platforms such as Blogger or TypePad. I use Movable Type on my own server, and have wanted to get this going for some time.
There are a couple of configuration settings that make this all pretty easy, although the answers as to how to set them is not in one place. This entry serves as the one place.
First of all, you need to have Contribute CS4 installed, and your Movable Type blog needs to be up and running. You will need administrative access to the blog and to the paths where the cgi lives. With these in hand, we need to gather some information before making the connection.
Open your Movable Type administration panel and click on your name in the upper right hand corner. This will open your profile.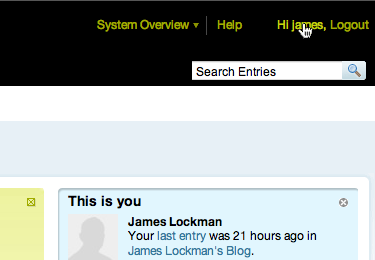
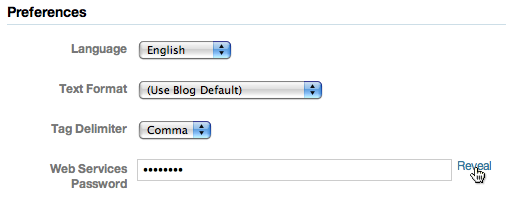
Having opened your profile, scroll down to the Preferences and click the reveal button to the right of the web services password. Write this down or copy it to your clipboard, as you will need it to connect to your blog.
Now, it's time to fire up Contribute. From Contribute, choose Contribute>My Connections... and select Create. Next, choose Blogs as the type of connection, and enter the URL for your blog.
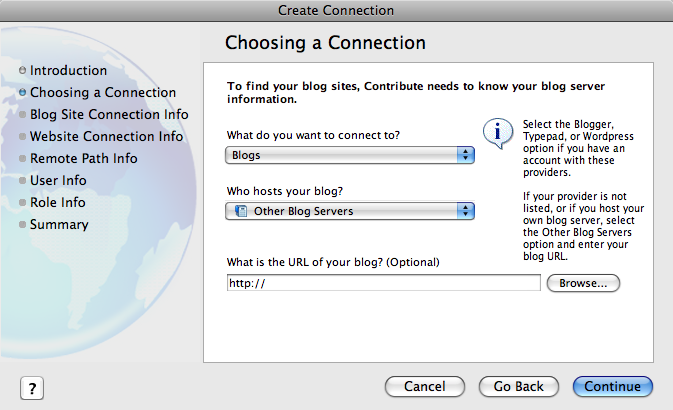
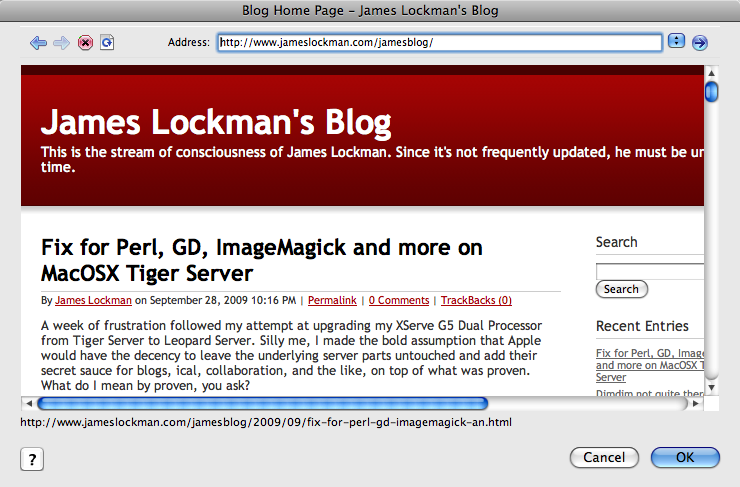
You can also browse to your blog, which will open a little web browser for you. Browse to the top level of your site, and then click OK.
Click Continue to enter the connection settings, and this is where that password will come in handy. On this screen, you need to enter your userid, the web services password (not your regular login password), and the access point path.
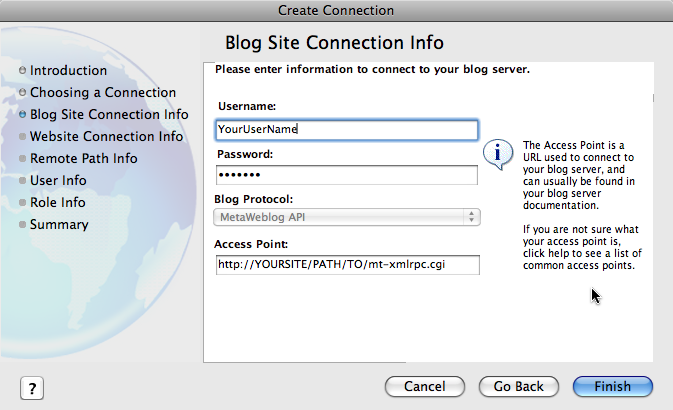
The access point path is the path to where the Movable Type cgi files live. In my installation, I simply installed the entire MT folder in a folder on my web site, and created a second folder for the posted blog entries. This is pretty common, as most of us don't have access to the system-wide cgi folder. The item that's important is the file called mt-xmlrpc.cgi, which is the bit of glue that binds Movable Type and Contribute together. Having entered these three items, you are done. Click Finish to create the connection.
Having made the connection, you are ready to add or edit entries. There are some preferences you might want to set before you do, however.
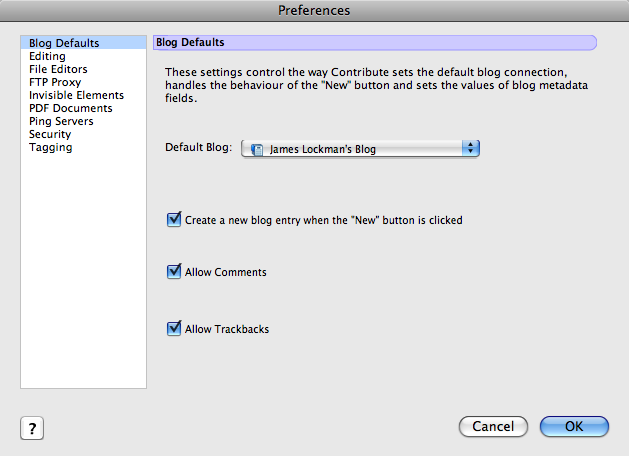
Choose Contribute>Preferences and then select the Blog Defaults panel. You can choose to automatically allow comments and trackbacks here, and to create a new entry when you click the "New" button.
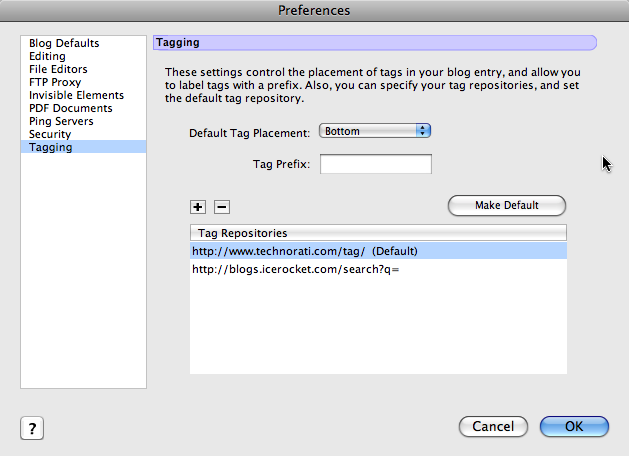
Under the Tagging panel, you may want to put the tags at the bottom of your entries so as not to clutter up the top. Contribute will automatically push your tags to the repositories you specify in the panel. Having made these changes, click OK.
Now, you're ready to blog with Contribute!
To create a new entry, click New Entry, or choose an existing entry from the menu at the right of the screen. This isn't about how to use Contribute to edit blog entries, so I'll leave that to you and your favorite training source.
I will say, though, that I enjoy seeing the blog entry rendered with the CSS and template of the blog. I also like the asset manager in Contribute, which consists of adding a picture to your blog entry, and Contribute will manage the rest. You can also use that built-in browser to browse to pages when adding links to your blog. That's handy when you can't remember the precise url, but you know the site that you want to reference.
If you need to set the entry aside, click Save for Later and then it will be available for you later to pick up where you left off. When you're ready to publish the entry, click Publish, and Contribute does all of the publishing for you.
Enjoy!


I enjoy seeing the blog entry rendered with the CSS and template of the blog. I also like the asset manager in Contribute, which consists of adding a picture
I enjoy seeing the blog entry rendered with the CSS and template of the blog. I also like the asset manager in Contribute, which consists of adding a picture to your blog entry, and Contribute will manage the rest. You can also use that built-in browser to browse to pages when adding links to your blog. That's handy when you can't remember the precise url, but you know the site that you want to reference.Yeah,i also like that.